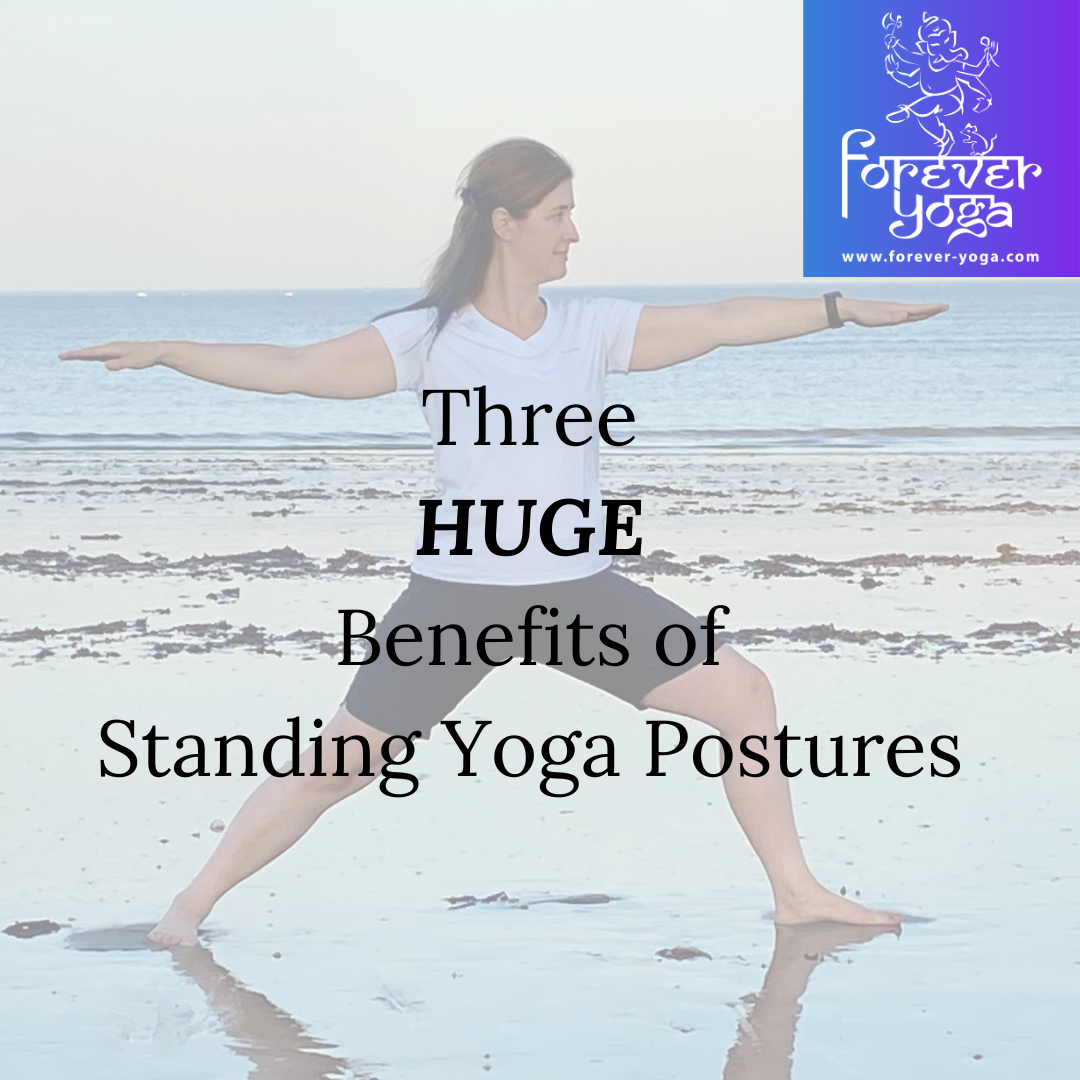
Three HUGE Benefits of Standing Yoga Postures
/Standing yoga postures are some of the most often practiced yoga postures across many styles and traditions of yoga. But have you ever taken a moment to step back and wonder WHY these postures show up so much? I honestly hadn’t until recently, but when I did I realized they really offer us some amazing benefits when we give them the attention and focus they deserve. Here are three HUGE benefits of these yoga poses and some ideas that might help you bring them into better focus and appreciation the next time you get on your mat.
Standing Yoga Postures Stretch and Strengthen Large Important Muscle Groups - Whenever you’re working in standing yoga poses you are either stretching or strengthening some of the largest and most important muscle groups in your body. These include all the gluteal muscles (did you know that there are three of them per side?), the hamstrings (there are three of them too!), the quadriceps (bet you know how many of those there are! 😉) and the calf muscles, along with some other smaller muscles that are in the same general neighborhood. Depending on the posture you’re doing, you may be flexing or extending key joints in the legs like your ankles, knees and hips helping them to move through their full ranges of motion.
Why is that important? If you’ve ever had the experience of being unable to walk without assistance you know why. The full functioning of our legs in our life is an essential key to a life well lived and part of what makes us fundamentally human. Think about how many things, both simple (getting to the bathroom) and more complex (getting around the grocery store to get everything you need from the top shelf to the bottom one), that you wouldn’t be able to do or would be extremely difficult without working legs. Certainly, many people overcome this obstacle in amazing ways, but if you have two functional legs this family of postures offers a great variety of benefits to keep them healthy and working for you for a long time to come!
Point of focus for practice: Cultivate a sense of the muscles of the legs engaging (contracting) in your standing postures. The ones that are in a lengthened position might build a bit of eccentric strength and the ones that are already stabilizing might build a bit of isometric strength, both of which are important and beneficial for many reasons.
Standing Yoga Postures Can Help Train Your Body to Balance - The standing postures that require us to stand on one leg are probably the most obvious that come to mind here, but if you’ve wobbled in your warrior or triangle pose you’ve actually experienced this benefit as well. Have you ever considered how incredibly quickly the messages between the sense receptors in your feet and legs have to travel to your brain and back to help you maintain your position in any of these postures? It’s so fast we don’t even notice it most of the time. The only time we tend to notice is when we DO feel that wobble happen. But here’s the great thing - those moments of wobble are creating experiences that train your body to respond and correct more accurately and more quickly by developing core strength, kinesthetic awareness and proprioception. It’s something that not a lot of people practice once they learn to walk. Living in New England, especially in the winter months, I really think of this as one of the greatest benefits of our practice. When you’re doing that winter shuffle to the car you have a much better chance of recovering if you start to slip than you would otherwise. That doesn’t mean accidents won’t happen, but it sure does stack the odds more in your favor!
Point of focus for practice: The next time you wobble and recover, instead of cursing yourself or getting frustrated for a weak moment, turn some gratitude toward your incredible body for being able to compensate and correct when needed. Then consider where it is you might need more engagement to help you maintain stability.
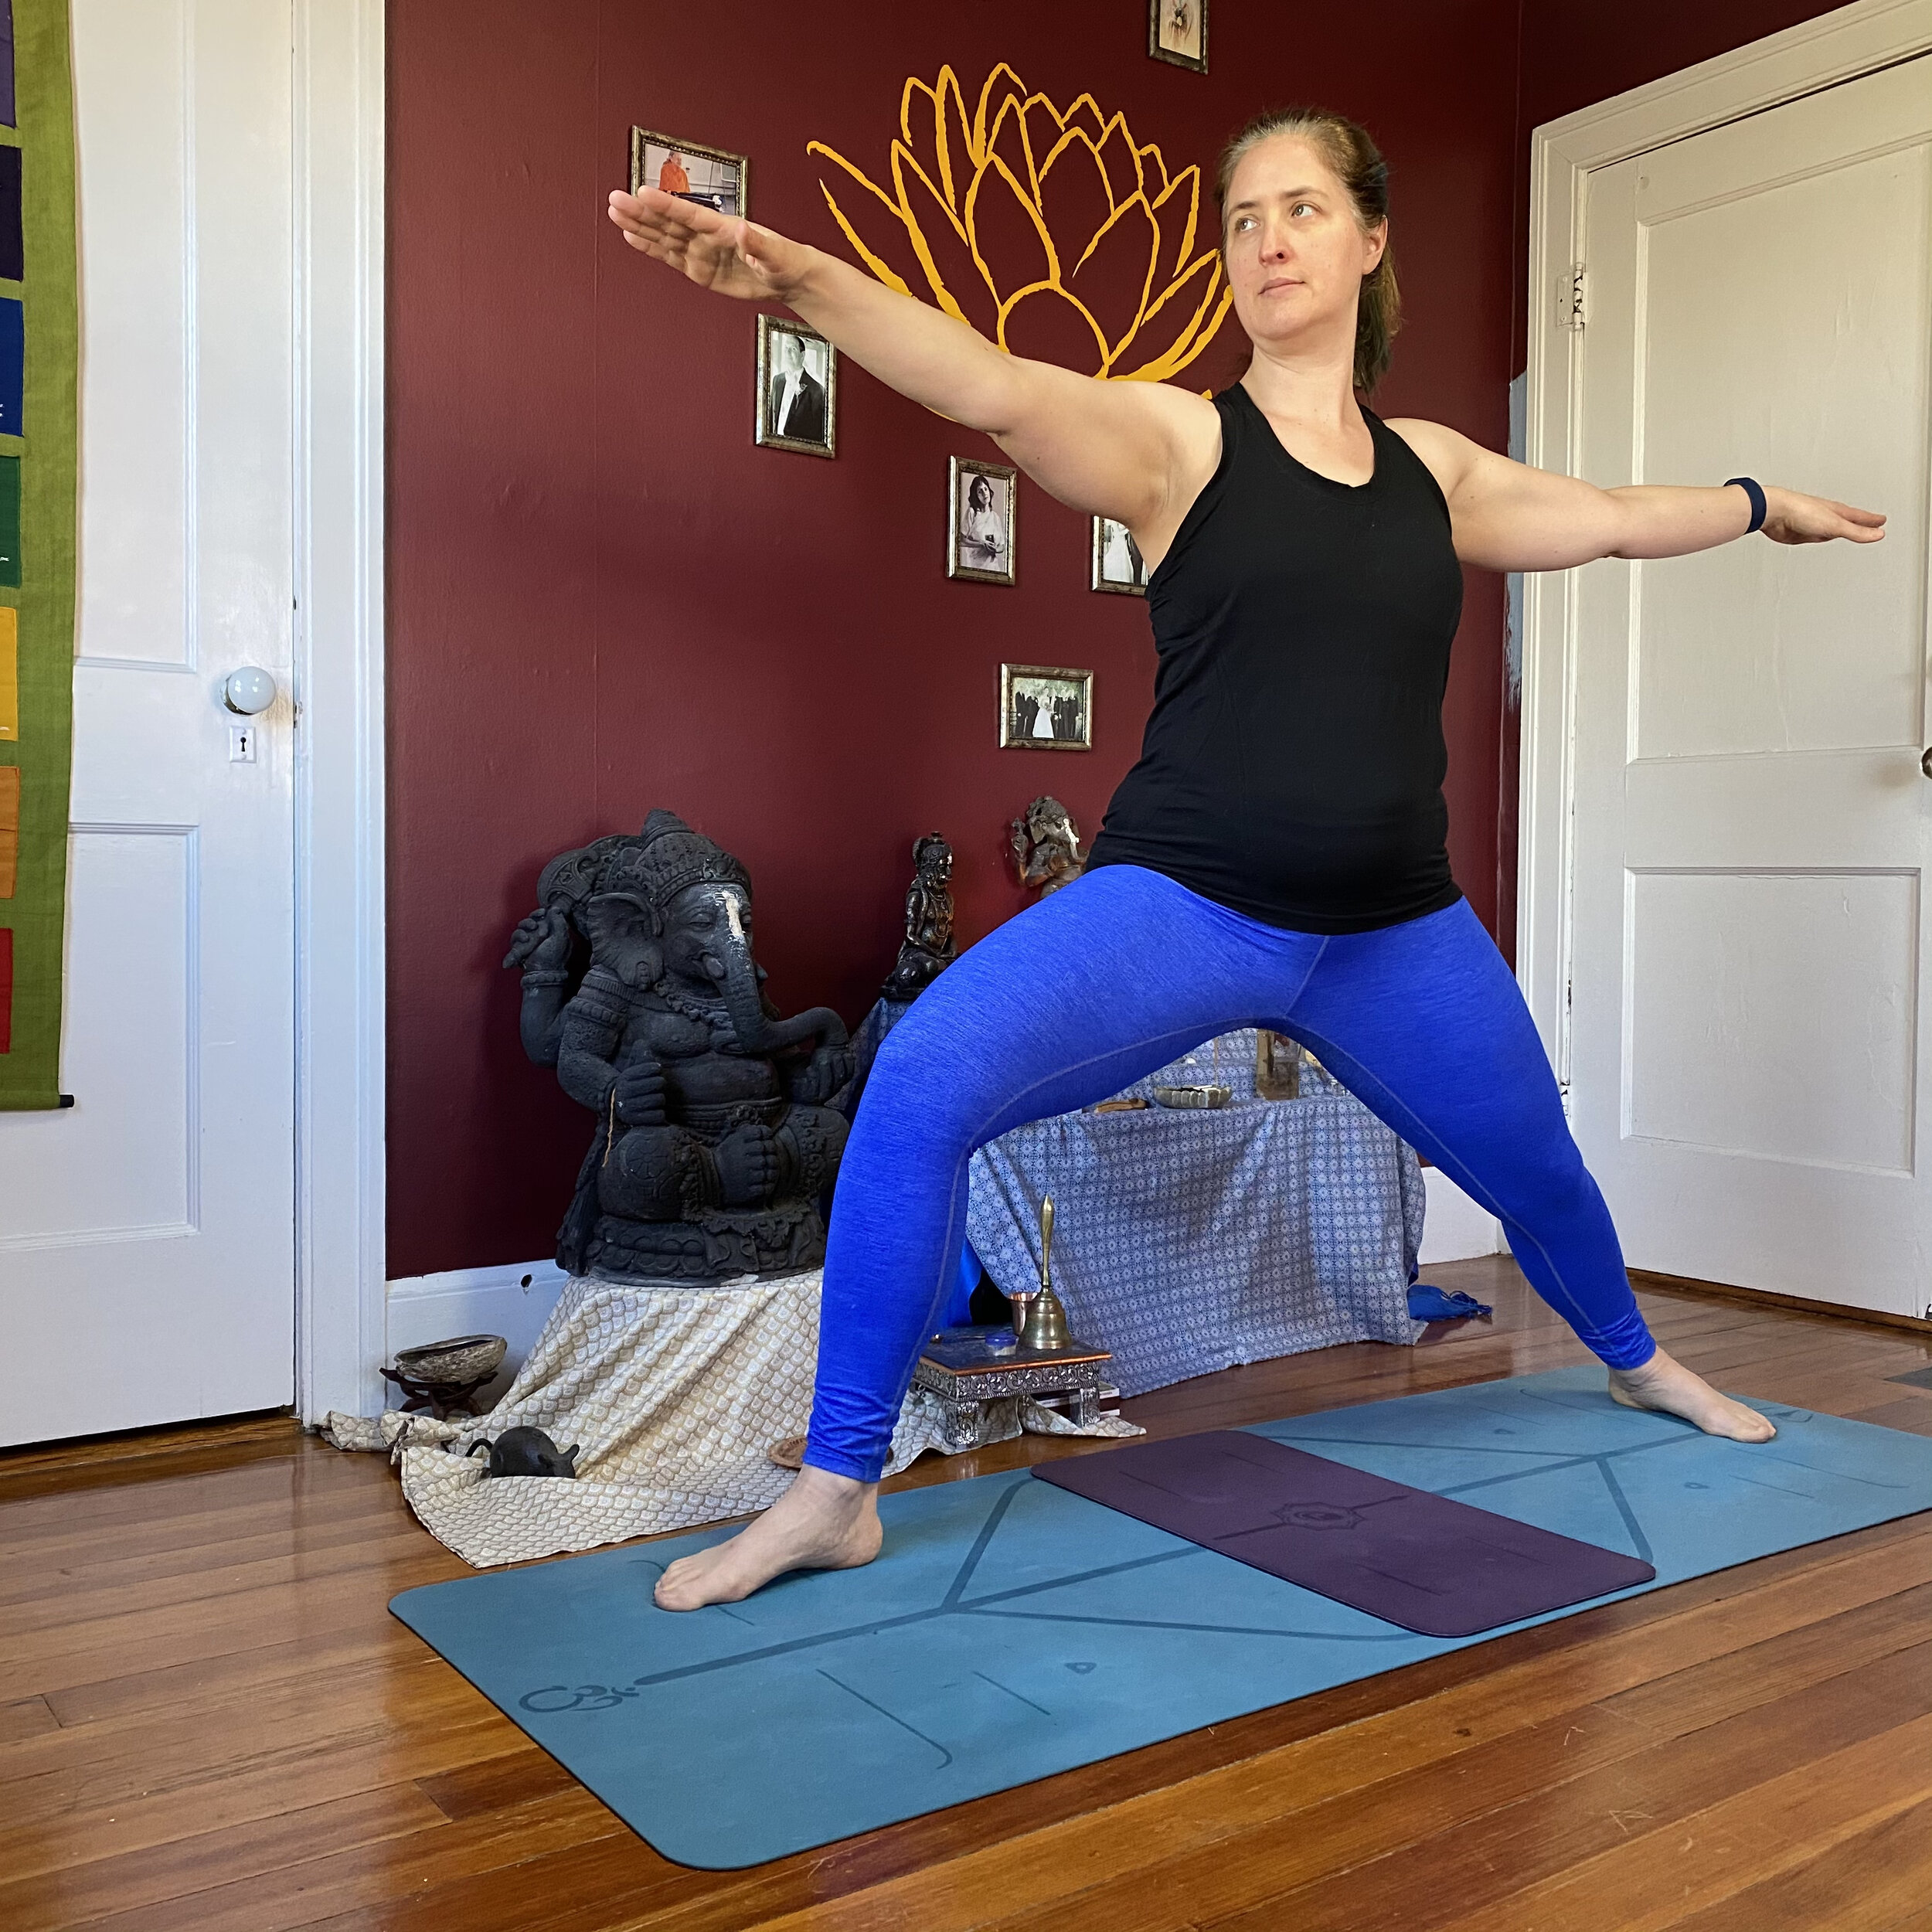
Standing Yoga Postures Can Make You Feel Grounded - Life has definitely shown us some serious challenges recently and a sense of not knowing when the next shoe might drop or the ground beneath us might shift again may still be operating in the back of our minds and hearts. [Incidentally, if that’s something that’s really bothering you, check out PSTEC to get some relief.] When we practice standing poses we have an opportunity to allow ourselves to make a deep connection with the steadiness of the earth beneath us through the parts of our body that were built for the job, our feet and legs! I’ll often draw your attention in class to rooting down into the earth through the feet before coming into a standing posture or again once you’re there. Have you ever noticed the rebounding effect that happens when you do so? There’s an amazing relationship there. You press into the earth and she gives you the energy and stability to grow and stand tall. That feeling and that relationship can’t be underestimated. The Warrior poses are called that for a reason! When you do them, you embody the strength of a warrior. That can be a great reminder of that quality existing inside of you when you’re feeling like anything BUT a warrior.
Point of focus for practice: The next time you come into a posture like Warrior 2, before you move into it, press down through the feet and see if you can feel that rebounding effect through your torso. It might be a sense of lightness or ease that allows you to float up rather than feeling like you’re trying to drag your torso away from the ground. You may also find you arrive in the pose with a greater sense of steadiness.
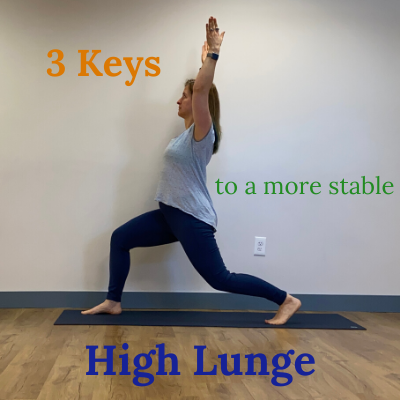
Not sure where to place your feet for your unique proportions or feel you could use more steadiness in standing postures? Join me for my upcoming workshop - Set Your Foundation: Finding Stability in Standing Yoga Postures.
Details and sign up here.
If You Enjoyed This Post You May Also Like…